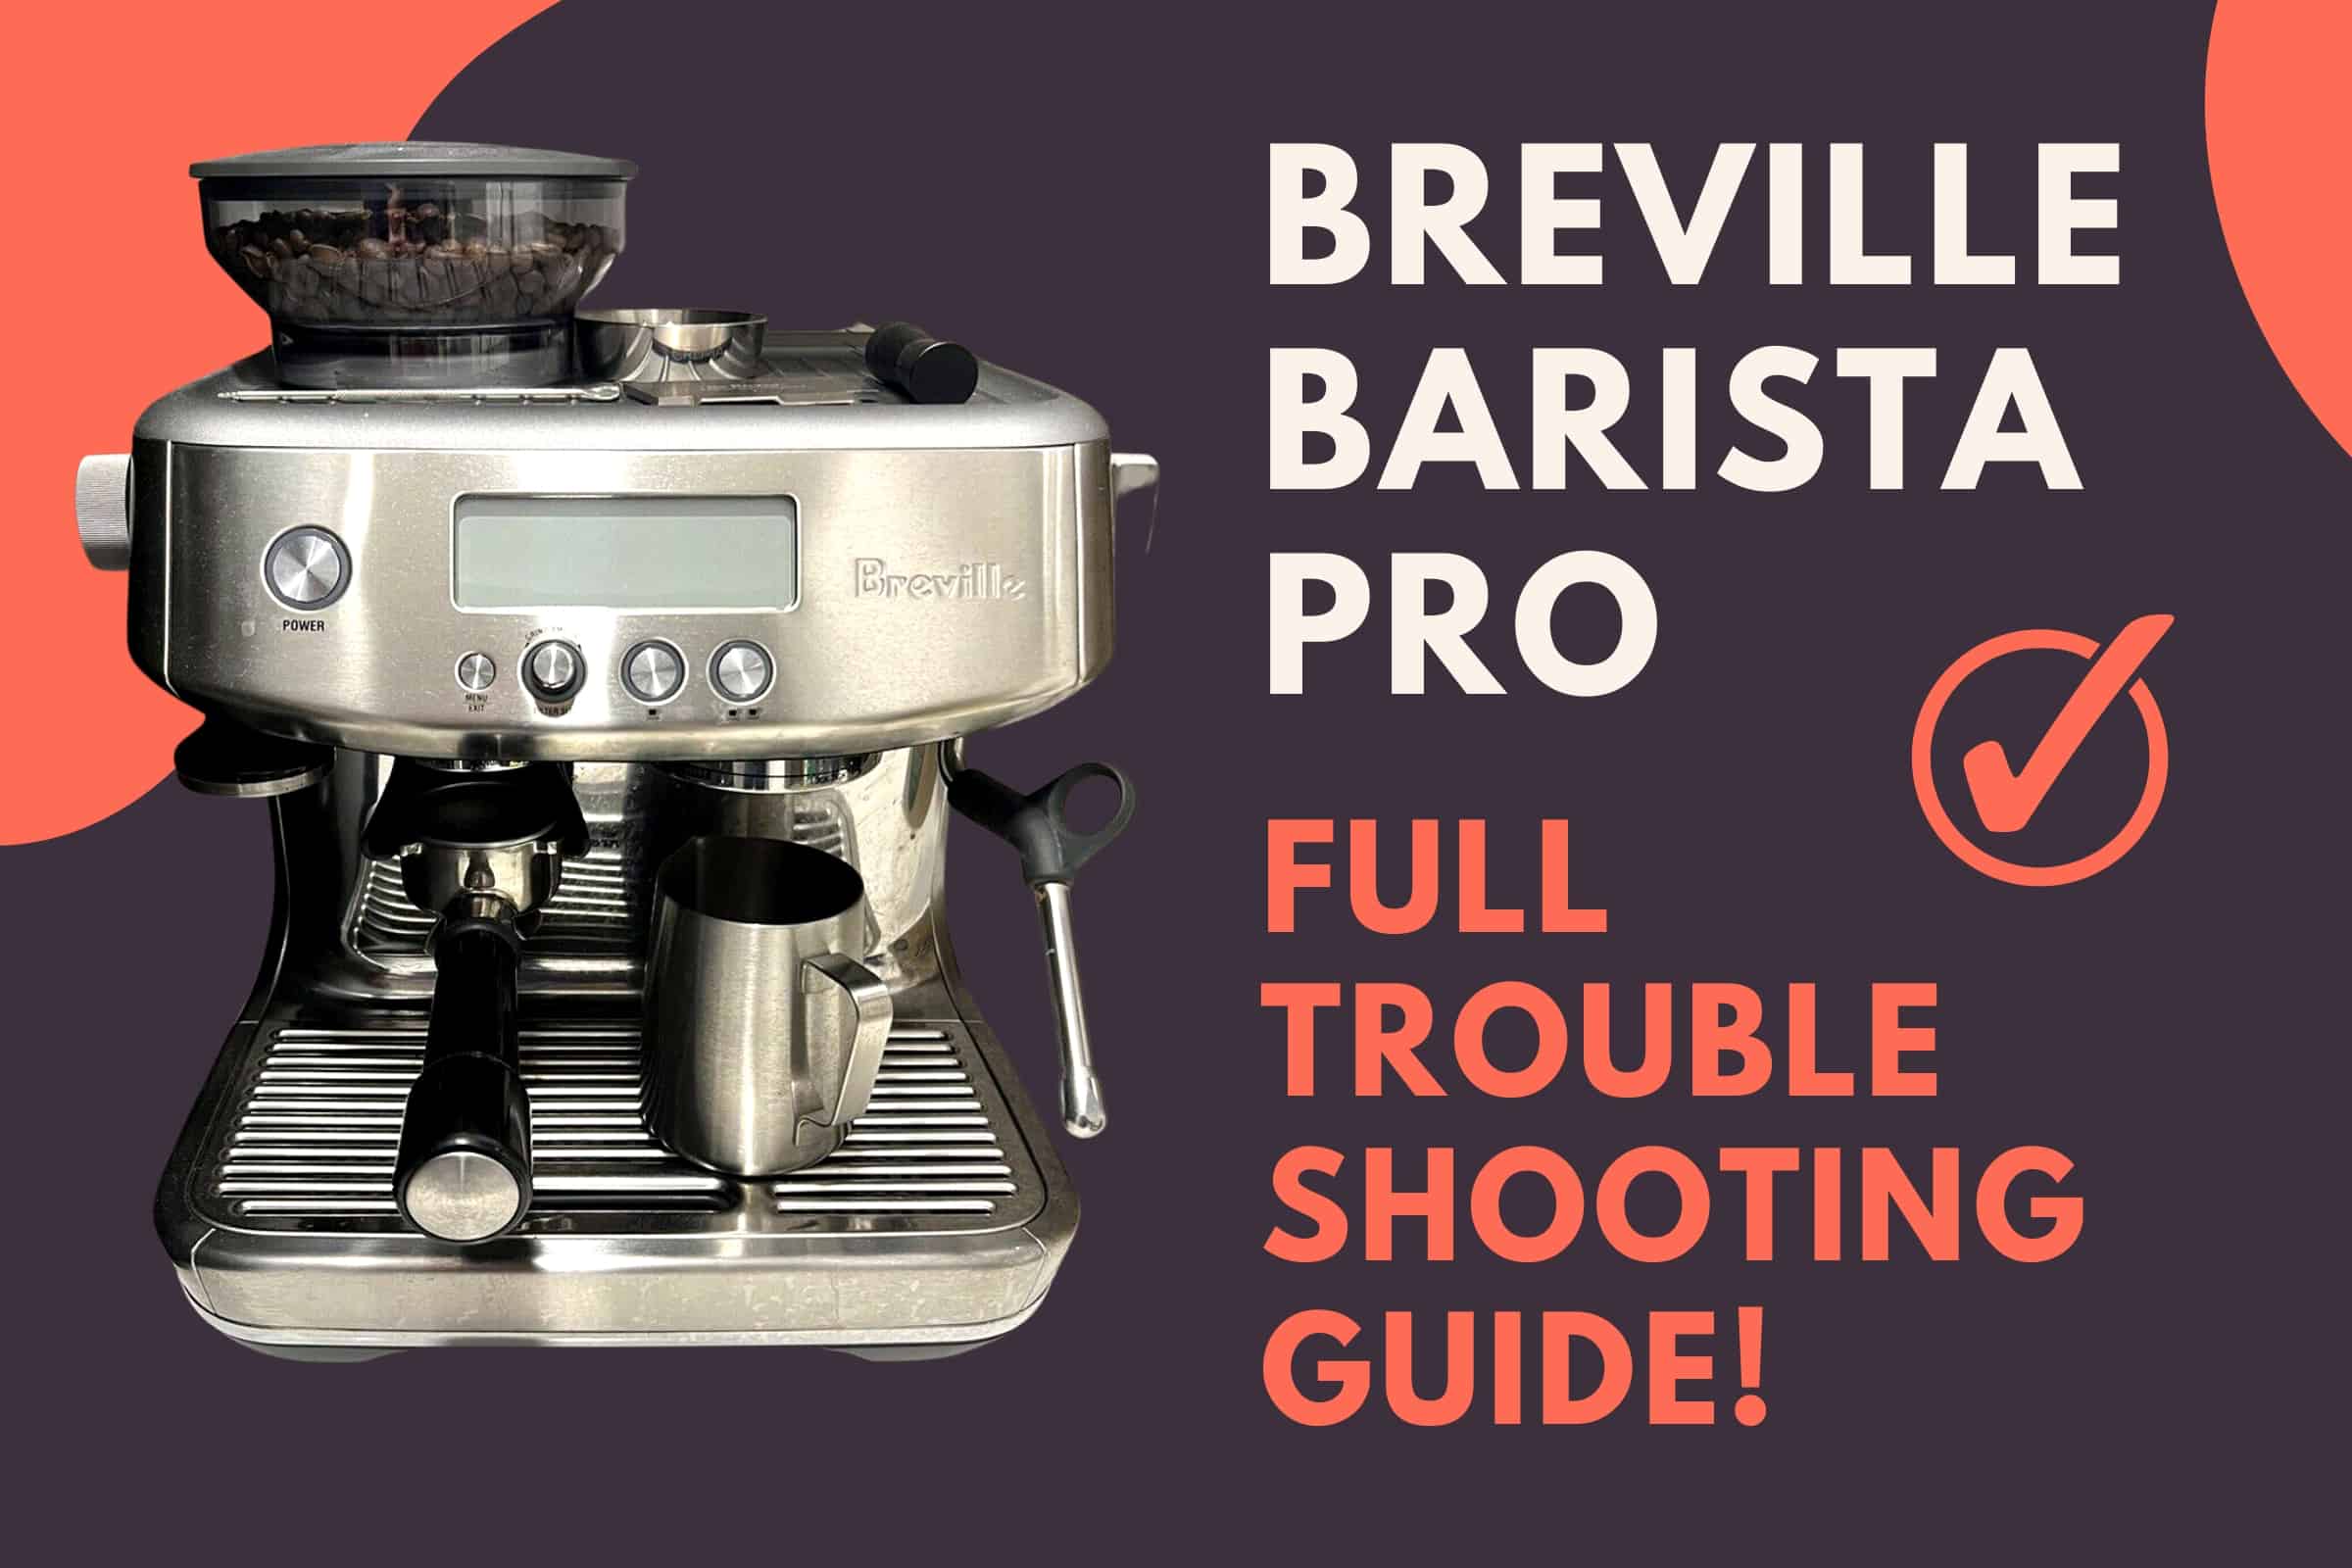
Encountering issues with your Breville Barista Pro? My comprehensive troubleshooting guide is here to help. Learn how to address common problems, maintain your machine, and consistently produce excellent espresso.
Equip yourself with the knowledge to tackle these challenges and enjoy a seamless coffee brewing experience.
Common Breville Barista Pro Problems
Some common problems people experience with the Breville Barista Pro are: Stopping after 5 seconds, the coffee grinder not working, not frothing milk, not heating, making a loud noise, leakage, low pressure, and more.
I’m going to cover all these problems and the solutions in this article!

Stops After 5 Seconds
Usually, when your Breville Barista Pro stops after 5 seconds while brewing or flushing it is because of an airlock inside the machine.
To resolve this problem, you can push water through the water suction port to push out any trapped air.
You can use something like a turkey baster or syringe to accomplish this. Put the turkey baster on the water suction port inside the water reservoir and then force water down the inlet.
Repeat the pumping action several times, and you should see improvement.
Not Flushing Or First Use Cycle Not Working
The Breville Barista Pro has a built-in safety feature that prevents it from operating if water is not being properly drawn, to safeguard the heating system. The initial flush may pause if there is air detected in the system.
To ensure proper functioning, verify that the water tank is filled and that the filter has been thoroughly soaked before use, which helps eliminate any air trapped inside. Alternatively, you can also try the fix with the syringe, explained in the section above.
My Barista Pro experienced one or two pauses during the initial flush but has been operating smoothly ever since.
If you have followed the setup instructions and the machine still fails to flush when pressing the blinking single shot button after multiple attempts, it is possible that you received a defective unit.
In this case, it is advisable to contact Breville to request a replacement.
Displaying “ER” Error Message On Screen
When your Breville Barista Pro displays “ER” on the LCD screen, the machine is in error mode. You could try descaling the machine or unplugging it and letting it rest for an hour.
If that doesn’t resolve the issue, the manual says this “If your machine displays ER on the LCD, contact Breville Customer Support.”
Temperature Problem: not hot enough
If your Breville Barista Pro isn’t reaching the desired temperature after descaling, it’s possible that the descaling process was incomplete or interrupted. Ensure you complete the descaling process as instructed in the manual.
Using extremely soft water might also cause your Breville Barista Pro to not be able to heat up the water properly. Attempt using spring or tap water, and check that the water tank is securely locked in place.
Another thing you could try to increase the temperature is to change the temperature setting on your machine.
How To Change The Temperature Setting
Step 1: Enter the Main Menu To start
Press the menu button on your coffee machine to enter the main menu. This is where you can access various settings to customize your coffee brewing experience.
Use the grind amount dial to navigate through the available options. Look for the “Shot Temp” setting, which allows you to adjust the water temperature for your espresso.
Step 3: Select the Shot Temperature
Press the grind amount dial to select the “Shot Temp”. This will allow you to modify the water temperature for your espresso.
Step 4: Adjust the Shot Temperature
Use the grind amount dial to increase or decrease the shot temperature as displayed on the LCD screen.
Once you have found the ideal temperature for your espresso, press the grind amount dial to confirm your selection. The machine will then return to ready mode, and you can proceed with brewing your coffee.
Be sure to adjust the temperature in small increments to find the perfect balance for your specific beans.
As a general rule, if your espresso tastes sour, try increasing the temperature. On the other hand, if your espresso tastes ashy or burnt, lower the temperature.
Pre-Heat Your Breville Barista Pro and Cup
Another effective way to make your Breville coffee hotter is to preheat your coffee cup and machine.
What I do, before putting coffee in the portafilter to make an espresso. First, put the portafilter in the group head without coffee in it, put your cup under the machine, and press the brew button.
The hot water will preheat the cold stainless steel of the machine and your cold cup. Then throw the water in the sink, and make a coffee like you normally would.
Of course, this doesn’t apply to disposable cups. Since a plastic or cardboard cup doesn’t retain heat the way a ceramic or glass cup does.
Temperature Problem: Not Heating At All
On the other hand, if your machine isn’t heating up at all, the issue could be a damaged thermal fuse on the steam boiler.
If you don’t have experience with electronic repairs and fuse replacement, it’s best not to attempt fixing it yourself. Instead, reach out to Breville support for assistance. If your machine is still under warranty, they should repair it free of charge.
Grinder Not Working
If the grinder on your Breville Barista Pro ceases to function, a likely explanation is that the coffee grinder is clogged with coffee beans.
To resolve this issue, you need to disassemble the coffee grinder, vacuum it, and clean it thoroughly. I have previously written a comprehensive guide on how to clean the grinder when it isn’t working properly.
If your Breville Barista touch appears to operate briefly when attempting to dispense ground coffee but displays “stop” on the screen shortly after, this could indicate a burned or damaged coffee grinder motor.
In this case, it is advisable to contact Breville customer support and arrange for your espresso machine to be repaired. If your machine is still under warranty, this service will be free of charge.
Steam Wand Is Weak Or Not Working
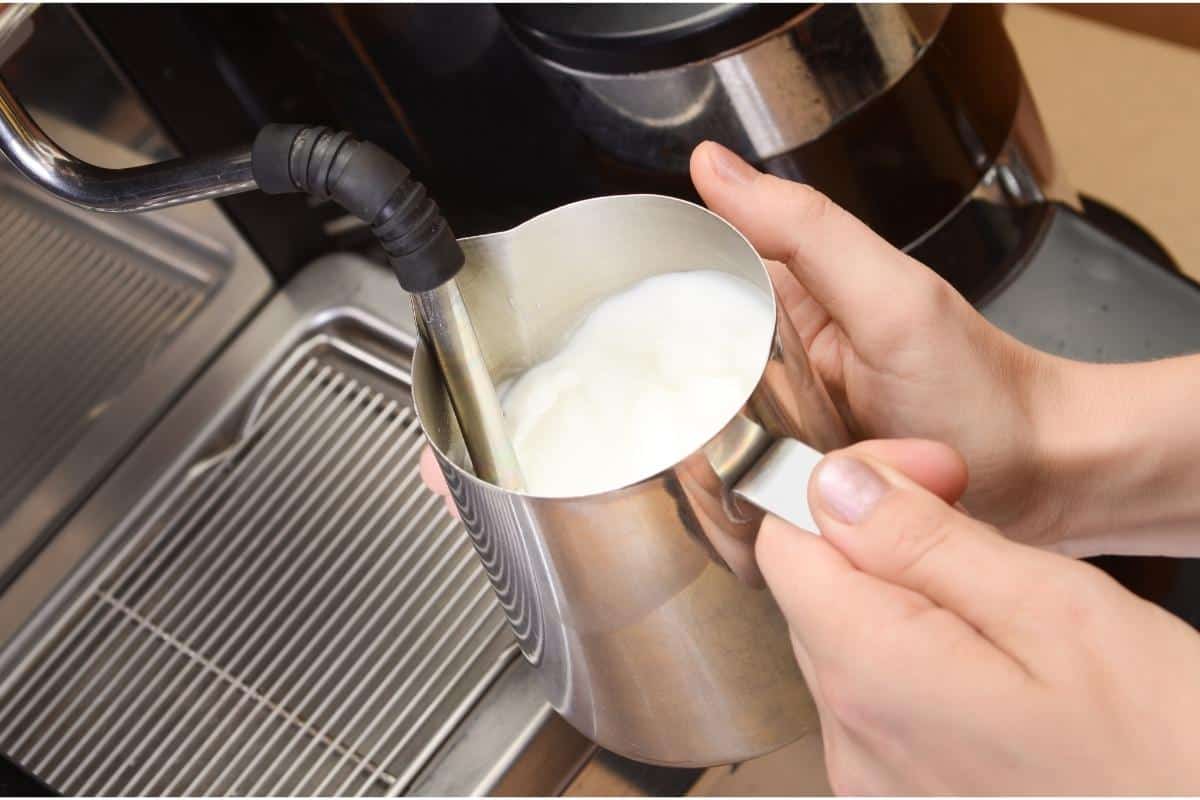
To troubleshoot the issue of the steam wand not working, first, perform obvious checks like ensuring the machine is on, there’s water in the tank, and the steam dial is in the correct position.
If the wand is clogged, use the provided tool to unclog it and soak the tip in a Cafiza solution. Before cleaning the steam wand, make a mental note of how weak the steam is for comparison after cleaning.
Prevent future clogging by cleaning the wand after each use and running a descaling cycle with a non-branded descaling solution.
For a leaking steam wand, ensure the tip is tightened properly or replace the O-ring if necessary.
I wrote a full guide on what to do if the Breville steam wand is not working properly.

No Water Coming Out
The primary reasons for this issue are a faulty or clogged valve or a broken water pump. To troubleshoot and fix the problem, follow these steps:
- Take the cover off and check the water supply and tubes in the machine, ensuring all valves are turned on and working.
- Listen for a clicking sound and a humming sound when pressing the brew button, indicating the solenoid valve and water pump are functioning.
If you see that the valves are not working or you’re not hearing any sound. Try these methods to unclog the valves and water pump:
- Descale and clean the machine.
- Use the steam cycle feature to clear blockages.
- Clean the filter by removing waste and rinsing it with warm water.
If the machine is not working after descaling and cleaning, it’s best to contact Breville support. If the machine is working but the pressure is too low, there are a few other troubleshooting steps you can take:
Low Pressure
Low pressure on a Breville Barista Express can be caused by various factors.
To fix the pressure problem, ensure your machine is working properly and check for pressure without ground beans in the basket, if the pressure is low without coffee in the basket your machine either needs to be descaled or it is broken.
However, if your Breville Barista Pro is working properly without coffee, there are some other things you could try to fix the problem:
- Use the right grind size, ideally around size 9 for espresso. Adjust the top burr grind setting if necessary.
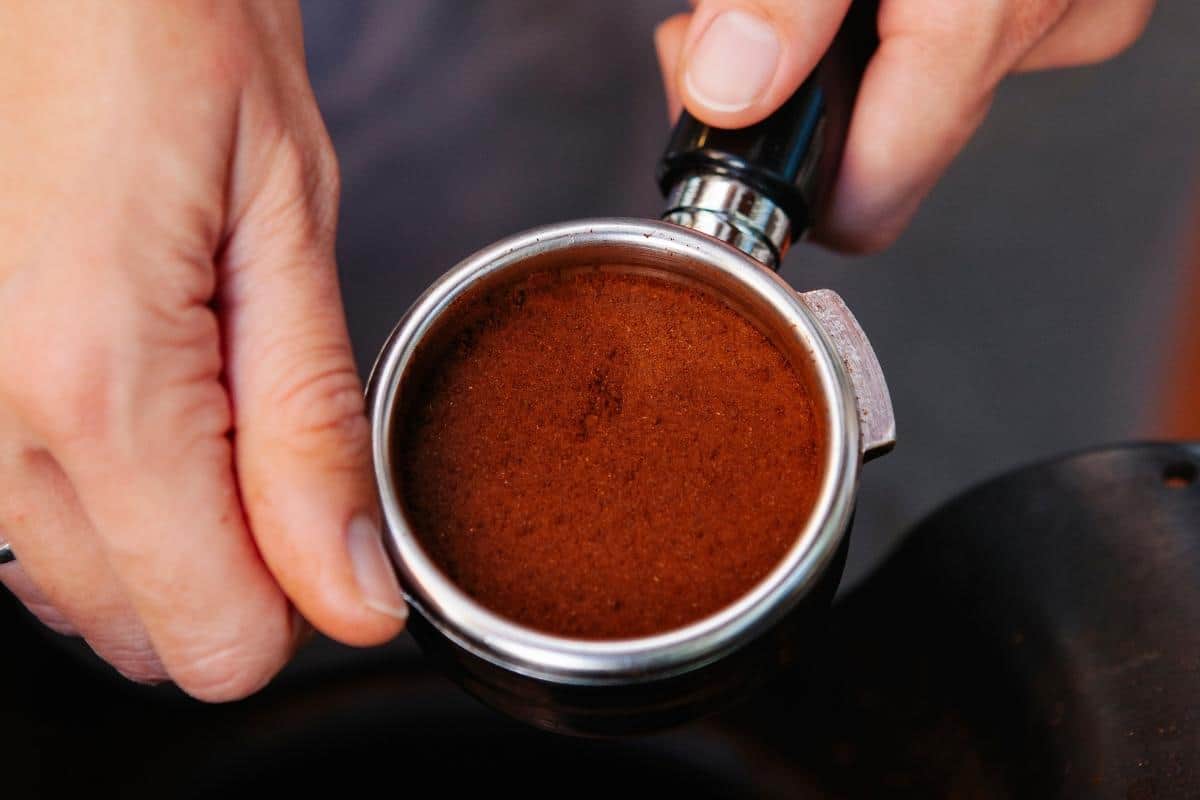
- Use the correct dose of ground beans, making sure the silver ring on the tamper is visible when pressed down.
- Tamp the coffee with sufficient pressure to create a dense coffee puck.

If these steps do not resolve the issue, contact Breville customer service for further assistance.
Leaking Water
Identifying the source of the leak so you know what to fix. Inspect the water tank, gasket, and steam wand for any signs of leakage.
If needed, carefully disassemble the machine to find the leak’s origin. When you find where the leak is coming from, there are a few fixes you could try depending on the type of leak:
Leaking water tank
Ensure the water tank is filled up to the max line and securely attached. Tighten the tank if it’s loose.
Leaking Grouphead Or Steam Wand
If there is steam coming from the group head while using the milk frother or water leaking from the group head while pulling an espresso shot, there are three common solutions to consider:
- Descaling your Breville espresso machine: Limescale buildup can block the valve that controls the flow of water, causing steam or water leakage. Descaling your machine with a proper descaling solution can resolve this issue.
- Cleaning the steam wand tip: Old milk residue may clog the steam wand tip, leading to excess pressure and steam escaping through the group head. To clean the steam wand tip, use the small tool that came with your machine to remove dried milk and then soak the tip in a Cafiza solution for 10 minutes.
- Replacing the group head gasket: A worn-out or damaged group head gasket can cause water leakage. To fix the problem, replace the gasket and ensure the portafilter is locked in firmly.
For more detailed instructions and additional tips, check out our comprehensive guide on how to fix steam and water leakage from the group head.
Leaking Drip Tray
It may seem like a simple solution, but it is often disregarded. When the drip tray becomes full, it can overflow, causing water to spill onto the countertop. Remember to consistently empty the drip tray to avoid this issue.
Preventing leaks:
- Maintain and properly align seals and gaskets, cleaning them when necessary.
- Check that all parts are in place before brewing.
- Fill the water tank with cold water to prevent excess pressure.
- Clean the machine regularly to remove any buildup.
If none of the steps fix the problem, consider taking the machine for repair through Breville’s support service.
Making Loud Noise
A noisy Breville Espresso Machine may be the result of various factors, such as issues with the grinding mechanism, deteriorated components, an empty water tank, or accumulated dirt and debris within the appliance.
Additionally, the formation of mineral deposits inside the machine can also contribute to the loud noise. I wrote a full guide on what to do when your Breville is making a loud noise.
Conclusion
This comprehensive troubleshooting guide provides effective solutions for the most common problems encountered with the Breville Barista Pro.
By following these steps and maintaining your machine regularly, you can ensure its optimal performance and enjoy a consistently delicious espresso.
Should you face any issues beyond those addressed here, don’t hesitate to reach out to Breville’s customer support for further assistance.
By investing time in understanding and caring for your Breville Barista Pro, you can enhance your coffee brewing experience and enjoy the perfect cup of coffee every time.
Thanks for reading!
